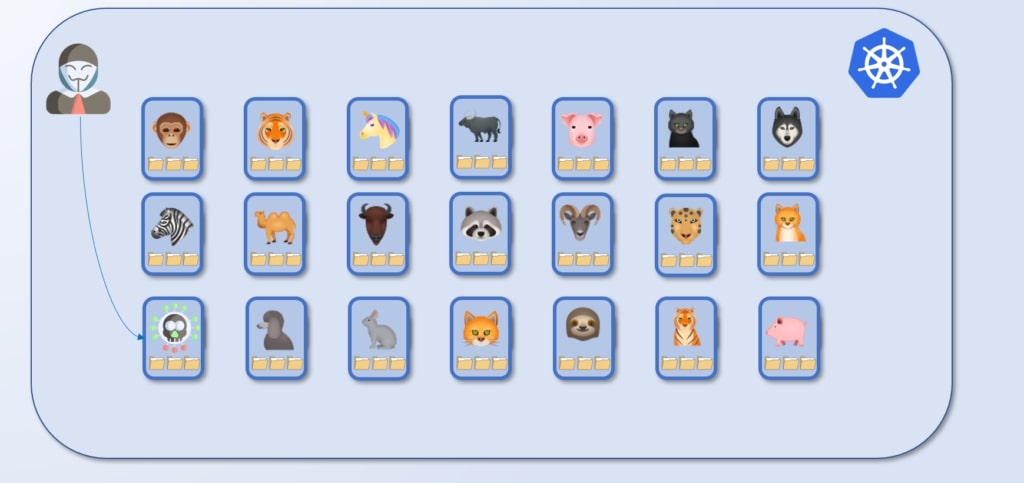
Immutable Kubernetes Pods
Immutable Kubernetes Pods are absolutely necessary if you are deploying your applications in a containerized environments and you want them to be secure. Despite this, most developers and teams do not use immutable pods. In this tutorial, I will explain in a simple manner what they are and why they are important. We will also learn how to create them.
Immutability
The literal definition of immutability is the state of not changing, or being unable to be changed. This concept is applied extensively in software development, especially in object-oriented programming where we define that an object is immutable when we cannot modify its state after it has been constructed.
Why the fuss about immutability though? Why is it so important?
Immutability guarantees that what you create will always work as intended. No one can modify the behavior or the state of the object you defined after it has been constructed. Fast forward to DevOps and Infrastructure as Code (IaC) and we can immediately see that this concept applies to deployments as well. Immutable containers or pods ensure that no one can tamper with our deployments.
Immutable containers and pods ensure that no one can tamper with our deployments
Without immutability, we have no guarantees on what is running on our environments which is like driving a Ferrari blindfolded. Driving a powerful car is not much different than using IaC and DevOps. The tools used in these methodologies are powerful and allow you to scale and manage a ton of servers at one go. However, if you do not know how to use them, it is just a matter of time and your environment will eventually explode spectacularly.
If you let Pods in your environment mutate and introduce some configuration drift, you will become unable to detect treats, which is exactly the scenario an attacker is looking for.

Creating Immutable Pods
Security is never straight-forward. There is not a single switch we can flip to make our containers immutable. We need to cater for all possible sources of mutability. Fortunately, containers and pods make our job a bit easier, especially if we compare it to in-place deployments that were so common before containerization hit our industry.
In this tutorial, we will focus on the use of the securityContext construct in Kubernetes. We are going to do the following:
- Set the filesystem as readonly
- Ensure the container’s processes run as non-root
- Ensure the container does not have elevated privileges on the host
- Ensure the container cannot request an escalation of privileges
I am going to use the nginx image because we want to learn how to secure a Pod, even though it already exists another image, nginxinc/nginx-unprivileged, that is already set to run in unprivileged mode.
Before we create the actual deployment, I will create a configuration map named nginx-conf with a basic nginx configuration to make sure it runs on port 8080 rather than the default 80 that cannot be opened by a non-root user.
Create a file named default.conf
server {
   listen 8080;
   server_name localhost;
   #access_log  /var/log/nginx/host.access.log  main;

    location / {
        root   /usr/share/nginx/html;
        index  index.html index.htm;
    }

    #error_page  404              /404.html;

    # redirect server error pages to the static page /50x.html
    #
    error_page   500 502 503 504  /50x.html;
    location = /50x.html {
        root   /usr/share/nginx/html;
    }

    # proxy the PHP scripts to Apache listening on 127.0.0.1:80
    #
    #location ~ \.php$ {
    #    proxy_pass   http://127.0.0.1;
    #}

    # pass the PHP scripts to FastCGI server listening on 127.0.0.1:9000
    #
    #location ~ \.php$ {
    #    root           html;
    #    fastcgi_pass   127.0.0.1:9000;
    #    fastcgi_index  index.php;
    #    fastcgi_param  SCRIPT_FILENAME  /scripts$fastcgi_script_name;
    #    include        fastcgi_params;
    #}

    # deny access to .htaccess files, if Apache's document root
    # concurs with nginx's one
    #
    #location ~ /\.ht {
    #    deny  all;
    #}
}
Then run the following command:
k create configmap nginx-conf --from-file default.confFinally we define our deployment manifest:
apiVersion: apps/v1
kind: Deployment
metadata:
  labels:
    app: nginx
  name: nginx
  namespace: default
spec:
  progressDeadlineSeconds: 600
  replicas: 1
  revisionHistoryLimit: 10
  selector:
    matchLabels:
      app: nginx
  strategy:
    rollingUpdate:
      maxSurge: 25%
      maxUnavailable: 25%
    type: RollingUpdate
  template:
    metadata:
      labels:
        app: nginx
    spec:
      containers:
      - image: nginx
        imagePullPolicy: Always
        name: nginx
        resources: {}
        securityContext: # enforces the security context
          allowPrivilegeEscalation: false
          privileged: false
          readOnlyRootFilesystem: true
          runAsGroup: 101
          runAsUser: 101
        startupProbe: #removes the bash shell
          exec:
            command:
            - rm
            - /bin/bash
          failureThreshold: 3
          initialDelaySeconds: 5
          periodSeconds: 5
          successThreshold: 1
          timeoutSeconds: 1
        terminationMessagePath: /dev/termination-log
        terminationMessagePolicy: File
        volumeMounts: # necessary volumes to have nginx startup
        - mountPath: /var/cache/nginx
          name: cache
        - mountPath: /var/run
          name: run
        - mountPath: /etc/nginx/conf.d
          name: config
      dnsPolicy: ClusterFirst
      restartPolicy: Always
      schedulerName: default-scheduler
      securityContext: {}
      terminationGracePeriodSeconds: 30
      volumes:
      - emptyDir: {}
        name: cache
      - emptyDir: {}
        name: run
      - configMap:
          defaultMode: 420
          name: nginx-conf
        name: config
Conclusion
Immutable pods are easy to achieve with the use of the security context. If they really need to perform some write on disk, you can still grant access on need, rather than leaving the entire filesystem writable. You might think this is an excessive step but it is no inexpensive that it is a no-brainer. Just do it.
If you need help on some other topic don’t hesitate to comment or contact me.
