
Install and Learn Kubernetes in 10 minutes

In this tutorial, I will show you how to install and learn the basics of Kubernetes in just 10 minutes. We will be using a super-lightweight certified distribution of Kubernetes: MicroK8s by Canonical. This distribution requires very little resources and can run on Linux, Windows and macOS. For the purpose of this tutorial, I will be showing the process on an Ubuntu machine.
Installation
Before proceeding ahead, make sure you the have the following available in your PC, Laptop, or VM:
- 2 vCPUs / 4 GB RAM
- Ubuntu 22.04 – 16.04
- Internet connection
We will install Kubernetes with just one command line:
sudo snap install microk8s --classic --channel=1.25Depending on the speed of your connection, this step can take few seconds to a couple of minutes. After this we do some housekeeping by configuring user groups and folder ownership.
sudo usermod -a -G microk8s $USER
sudo chown -f -R $USER ~/.kube
su - $USER
Finally, we are ready to check if microk8s was installed correctly and whether it is already ready to be used. Notice the flag --wait-ready which will cause the command to hang until the node is ready.
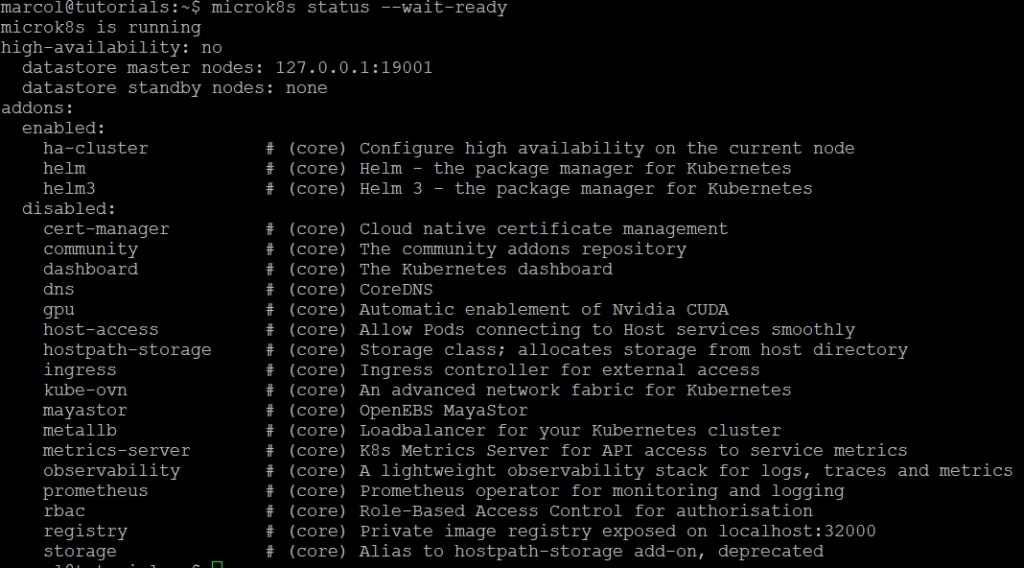
microk8s status –wait-ready
You should see a similar output if everything is in order.
Activate Addons
MicroK8s offers a set of addons to enable extra functionality. Most are disabled by default in order to keep the distribution as light as possible avoiding spawning useless services. I advice you to enable three addons that are necessary in most scenarios: dns, ingress and storage. Make sure to enable at least the DNS and the Ingress because they will be required for later steps of this tutorial.
microk8s enable dns ingress storagePro-Tip: Autocomplete and Alias
MicroK8s exposes the kubectl as microk8s.kubectl which is very annoying. This is done to avoid conflicts with an existent version of the kubectl. I like to use a short alias, such as k, which allows me to be way faster. I also always activate autocomplete which is must to work on Kubernetes.
echo 'source <(microk8s.kubectl completion bash)' >>~/.bashrc
echo 'alias k=microk8s.kubectl' >>~/.bashrc
echo 'complete -o default -F __start_kubectl k' >>~/.bashrc
exec bash
Pods
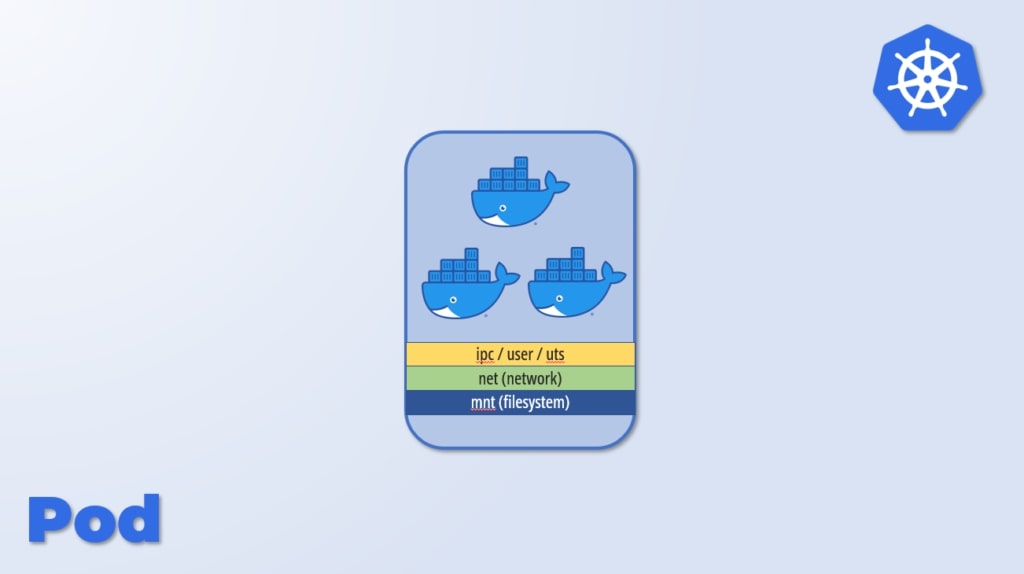
The Pod is the smallest deployable unit in Kubernetes. It represents a group of processes that run isolated from the rest of the system. A pod can contain one or more containers. Typically, the main container is the application you want to deployed and the other containers are considered sidecars, because they are meant to cover generic functions like initialization, logging or proxying.
k run pod1 --image nginx
k run pod2 --image busybox --command -- sleep infinity
k get pods -w
If everything works fine, you should see the two pod created and in a Running status.

Deployments
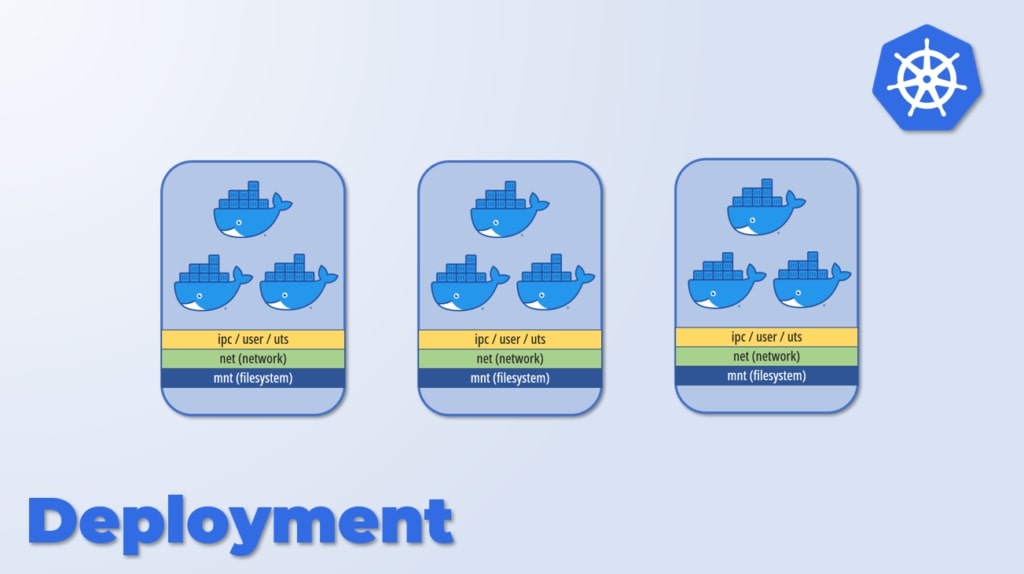
In production we rarely declare pods and we use deployments instead. A Deployment allows you to define how many replicas you want of your Pod, as well as define which strategy you want to use for its deployment and updates. You can choose between RollingUpdate and Recreate with the former being the default.
We will delete pod1 and replace it with a deployment named nginx.
k delete pod pod1
k create deployment nginx --image nginx --replicas 2
k get pods -w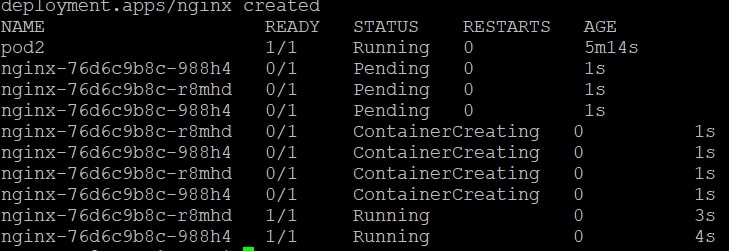
Services
If we wanted to access our deployment, we could use the Pod’s IP but that is bad practice. The reason is that pods within a deployment can be deleted and recreated by Kubernetes automatically under several different conditions. When pods respawn, they get a different IP. For this reason, we use the concept of Service instead.
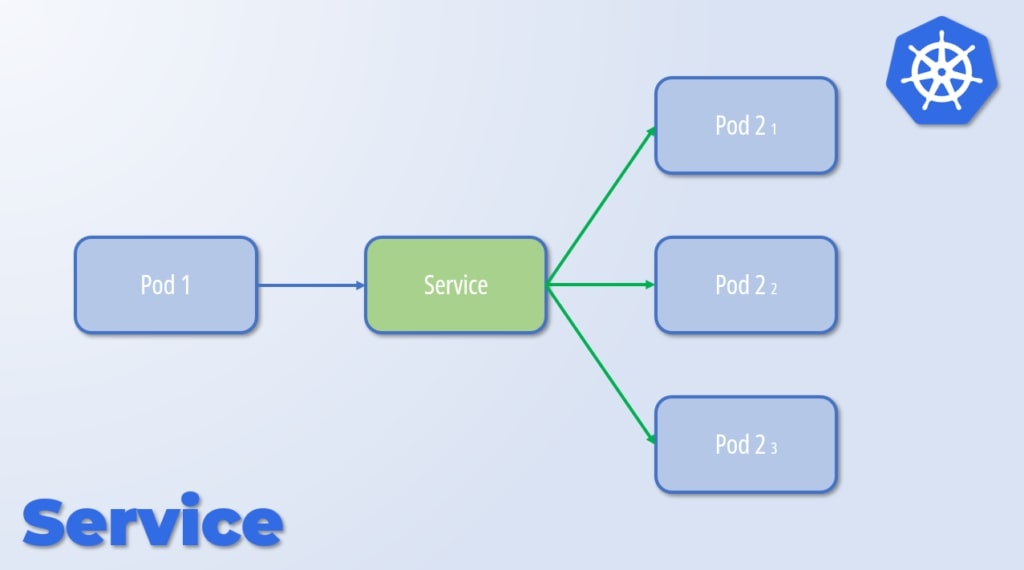
A Service directs traffic to one or more Pods based on labels. Let’s see how to create one.
k expose deployment nginx --port 80Thanks to the addons we enabled previously, the name of the service, nginx, can be resolved within the Kubernetes cluster. Let’s test it out by trying to load the Nginx welcome page from pod2.
k exec pod2 -- wget -O- nginx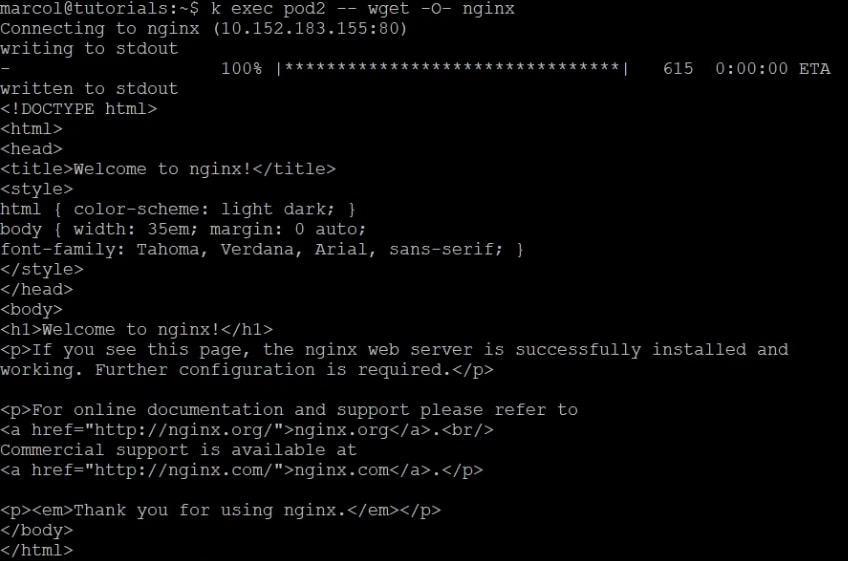
Ingress
The last step of this tutorial is exposing the service outside the Kubernetes cluster. In this case, we can use the Ingress construct.
k create ingress nginx --class nginx --rule="/=nginx:80"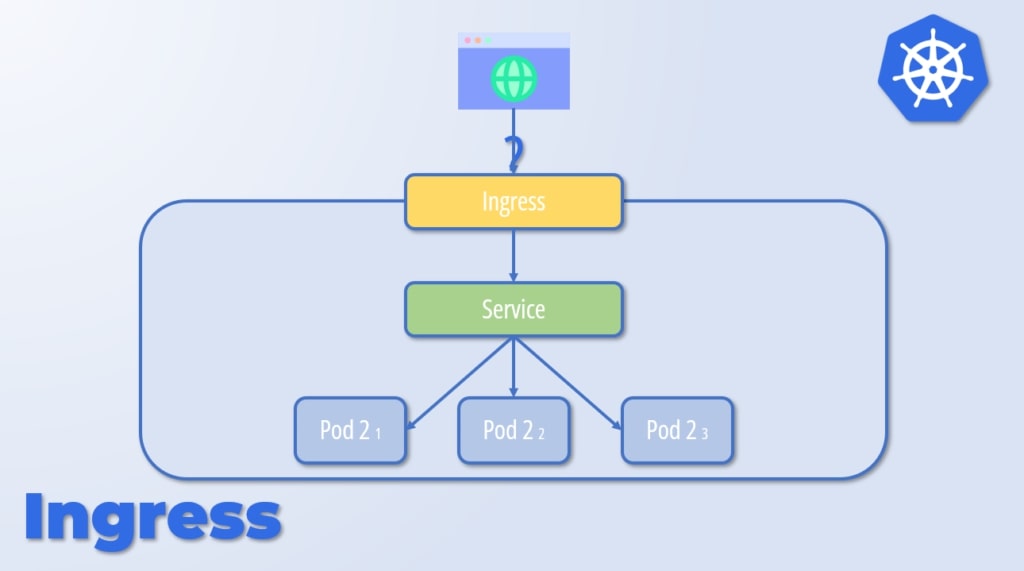
To check if the ingress is working, let’s try to load the welcome page from outside the cluster.
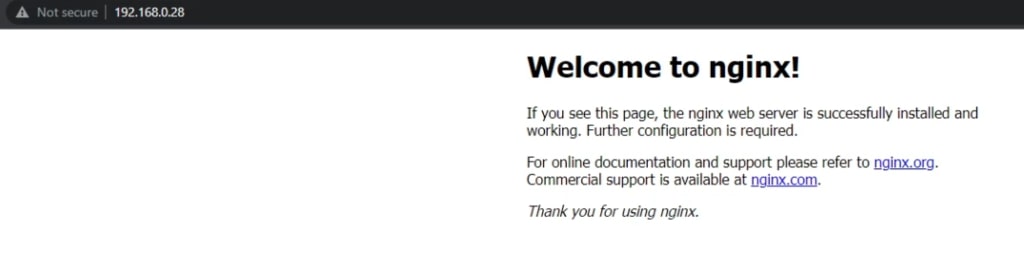
It works!
Conclusion
In few minutes, we installed Kubernetes and learnt its basics. We obviously rushed a bit but the intent was to show that it is not so complex as many people think. You can refer to other posts on my blog to go into more details.
See you next time!